

Amazon Simple Notification Service (Amazon SNS) is allowing you to send SMS notifications to your customers and staff members. You can integrate the Amazon SNS to BOOQ BLUE™ by following the instructions below.
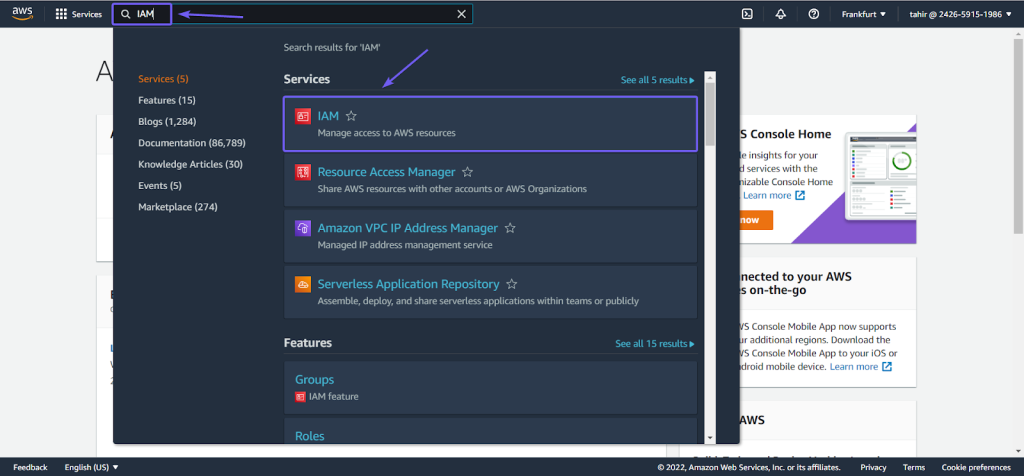
- Go to AWS Console and search for IAM
- Go to the Users section
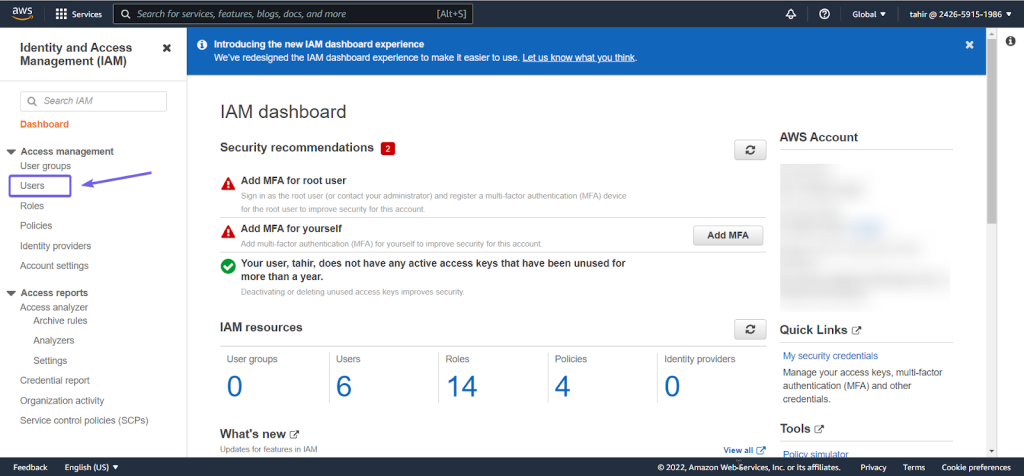
- Click on Add users

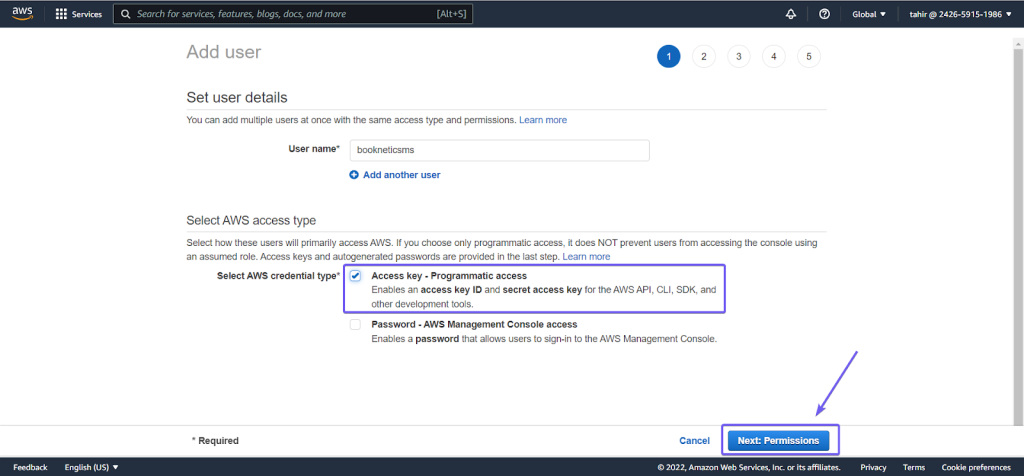
- Set a username and select AWS credential type as Access key – Programmatic access. Click to the Next: Permissions
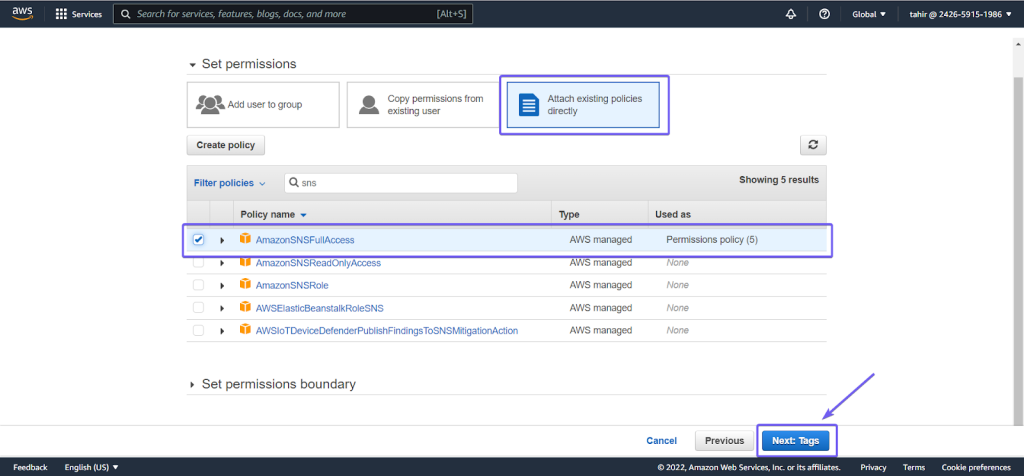
- In this section, you need to set permissions for your created user. Go to Attach existing policies directly section and search for SNS. Mark the AmazonSNSFullAccess permission and click Next: Tags
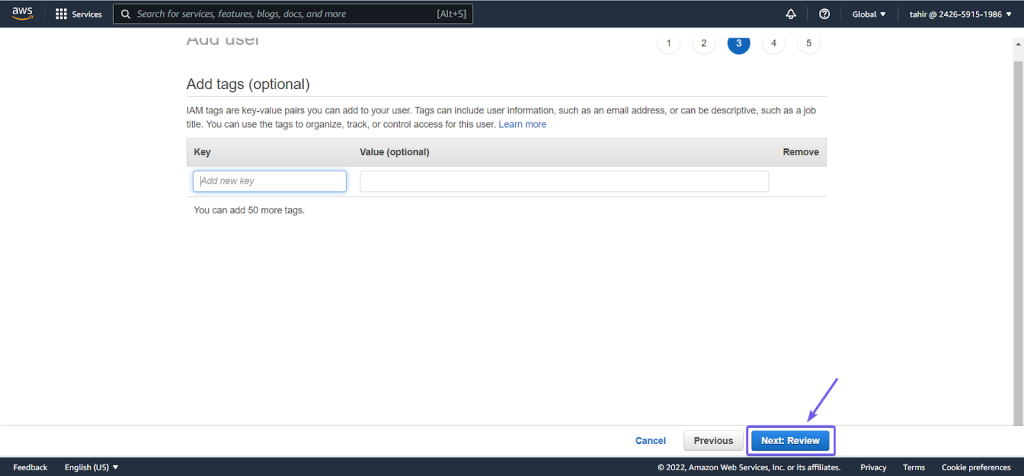
- It is not necessary to write tags on there, so you can keep it empty. Click on Next: Review
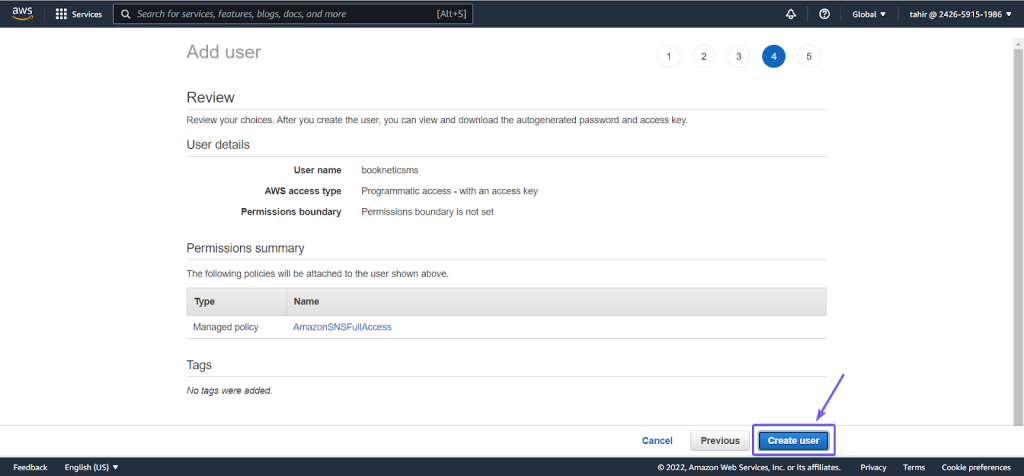
- In this step, the configuration is nearly done. Review your information carefully and make sure all is correct. Then click on the Create user
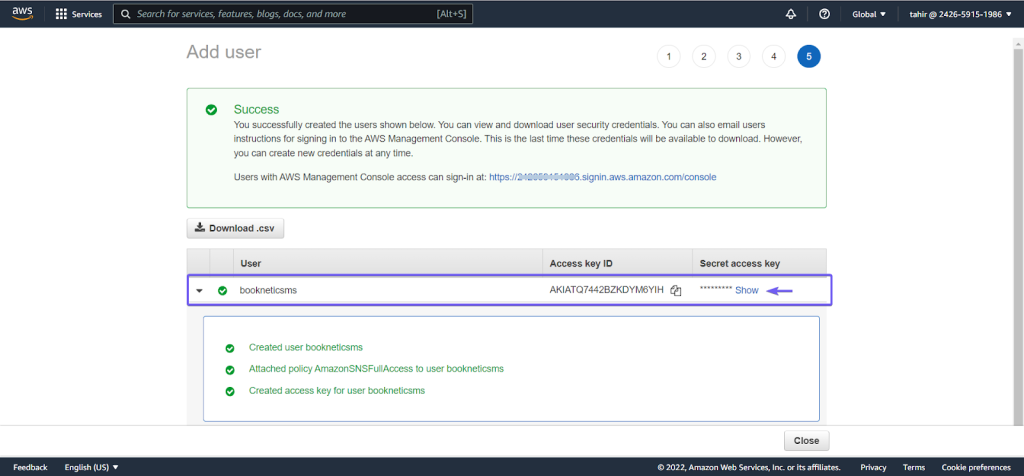
- It is done! Copy the Access key ID and Secret access key.
- Paste the credentials on the Amazon SNS settings.
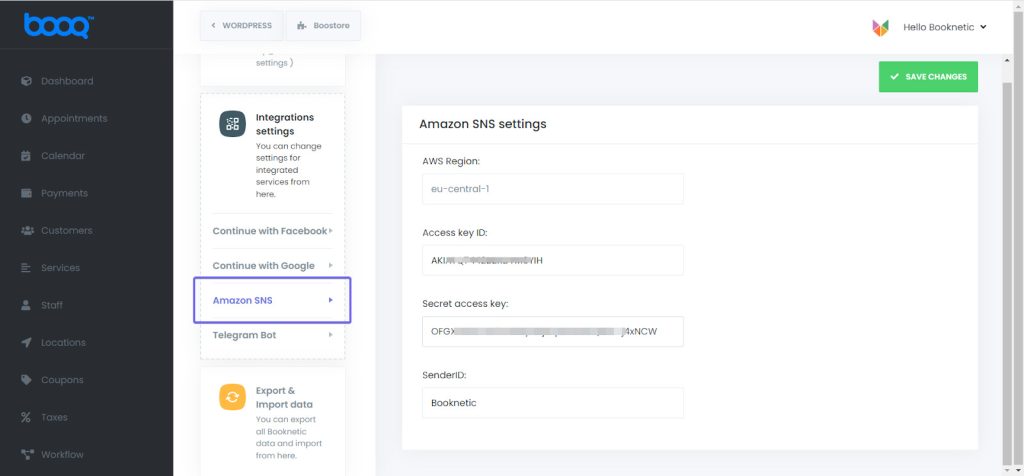
- Now the integration is ready to use!