

You can see a list of all appointments in the Appointments menu. You can also find an appointment easily by using the convenient search tool and filters. You can order the list with ASC and DESC markup for all columns.
You can edit or delete any Appointment by clicking on the options in front of the Appointment and clicking the Edit or Delete button. You can also delete appointments in bulk by selecting them and clicking the delete button at the bottom.
Also, when you click on the icon in the PAYMENT column, you will see the detailed Payment Info. You can change the Payment Price or Payment status as needed.
You can create a new Appointment by clicking on the NEW APPOINTMENT button in the Appointments menu.
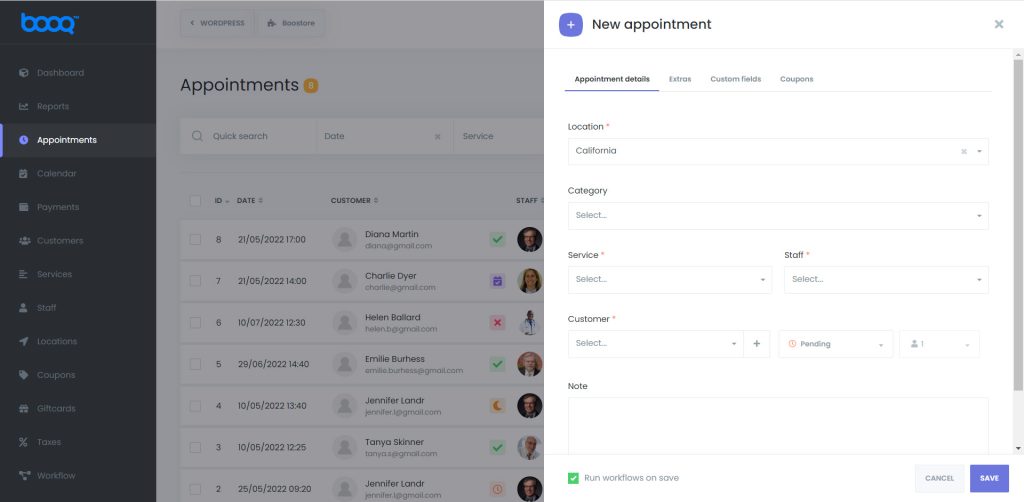
In the New Appointment window, select all the necessary options related to the Appointment. Date and time options are available according to Timesheet, holidays, and special days. If you set Sunday as a holiday in the settings, there will be no timeslot for this day.
If a customer has booked an appointment for a timeslot, you will not be able to create a second appointment on this timeslot. If you require that many people can book a service for the same timeslot, the Service capacity should be “Group” so that you can add a new client to the Appointment. Also, your other customers can book the same timeslot on the booking page if the service capacity is Group.
When adding customers to a group appointment from the admin panel, you can choose the number of customers. These slots will be decreased from the service capacity.
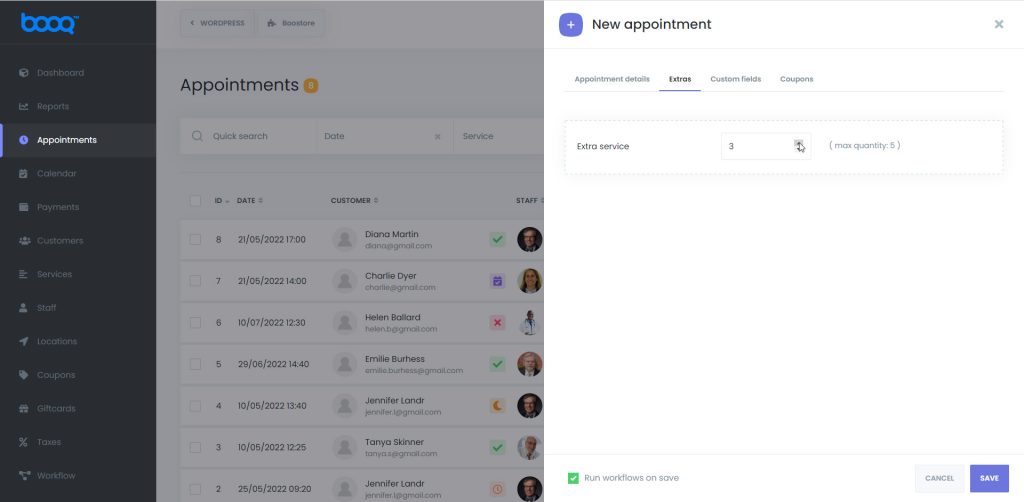
If you have extras related to the Service and want to select it, you can do so from the Extras tab.
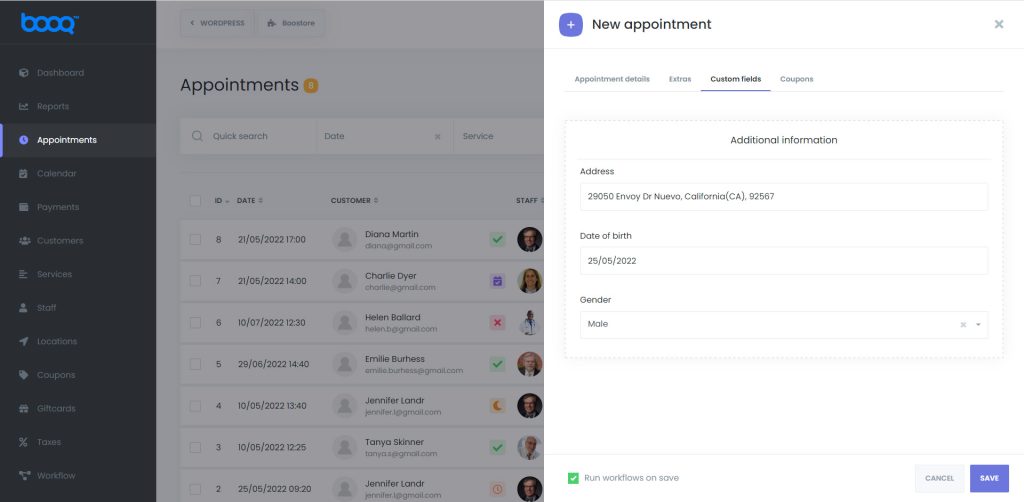
Also, if you need to add any additional information to the appointment, the Custom Forms feature can be used while making a manual appointment.
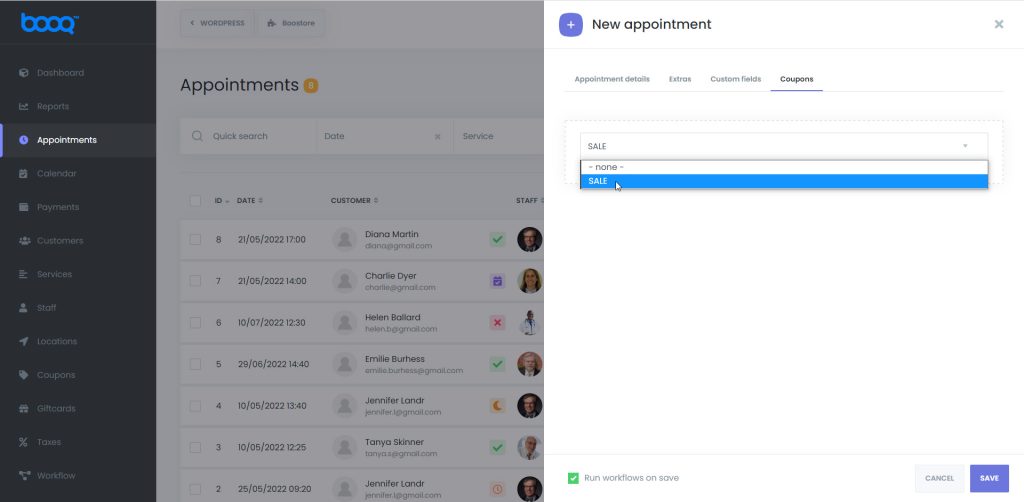
Coupons can also be added to the appointment while making the manual appointment from the admin panel.
If the “Run workflows on save” checkbox is not activated, no notifications will go to the customers when you make manual changes to the Appointment. If you want to send notifications, it is important that you check the checkbox.
After setting the date and time, select a customer.
Monthly recurring appointments:
If your Service is repeated on certain days of the month, you can choose the Monthly option. Customers will be able to select days of the month or select days of the week such as the first Sunday, the last Wednesday, and the third Friday of every month.
If you select the Specific day option, you can specify the specific days from 1 to 31. For example, you want to repeat the Appointment on the 5th, 10th, and 15th of each month. Then you will select 5, 10, and 15 options. You also need to select the start date and end date.
Once you have completed the details, you will see the number of times your Appointment will be repeated according to your preferences in the Times input. If you don’t want to calculate the end date and know that the Appointment must be repeated ten times. Then type 10 in the Times section and let the Booknetic calculate the End date for you.
If you select one of the First, Second, Third, Fourth, or Last options, you will be able to choose any day of the week. For example, you can choose the First Monday. This means that the Appointment will be repeated on the first Monday of each month.
If the Fixed full period is set when the service is created, you cannot set the End date. When you select the start date, the end date will be automatically calculated according to the service settings.
Weekly recurring appointments:
In this case, you will be able to choose the days of the week. After choosing the days of the week, you can set the start time in front of each day. Finally, you select the Start date and End date according to your Appointment.
Daily recurring appointments:
When adding a daily recurring appointment, you must first determine how many days your Appointment will be repeated. If you choose every 1 day, it means that your appointments will be repeated every day. If you choose to do it every 2 days, it will repeat every 2 days. Time, Start date, End date, and Times are the same as the others.